What is Plutonication
Examples in C#
Plutonication allows users to connect PlutoWallet to other dApps seamlessly on any platforms, accross multiple codebases. DApp just generates a QR code and once it is scanned in the wallet, they will pair and the wallet will be able to receive transaction requests from the dApp. It works on the same principle as WalletConnect protocol.
Plutonication for C# is optimised for use with Substrate.NetApi or Polkadot.Unity.SDK. Be sure to get familiar with the respective guides to understand this guide to full extend. If you are not using any of these packages for your C# project, You must check them out!
Installation
using Plutonication;

// Other dependencies that were used for this demo
using Substrate.NET.Wallet;
using Substrate.NetApi;
using Substrate.NetApi.Generated;
using Substrate.NetApi.Generated.Model.sp_core.crypto;
using Substrate.NetApi.Generated.Model.sp_runtime.multiaddress;
using Substrate.NetApi.Generated.Storage;
using Substrate.NetApi.Model.Extrinsics;
using Substrate.NetApi.Model.Types;
using Substrate.NetApi.Model.Types.Base;
using Substrate.NetApi.Model.Types.Primitive;
Use this command: dotnet add package Plutonication
or download it from the Visual Studio UI.
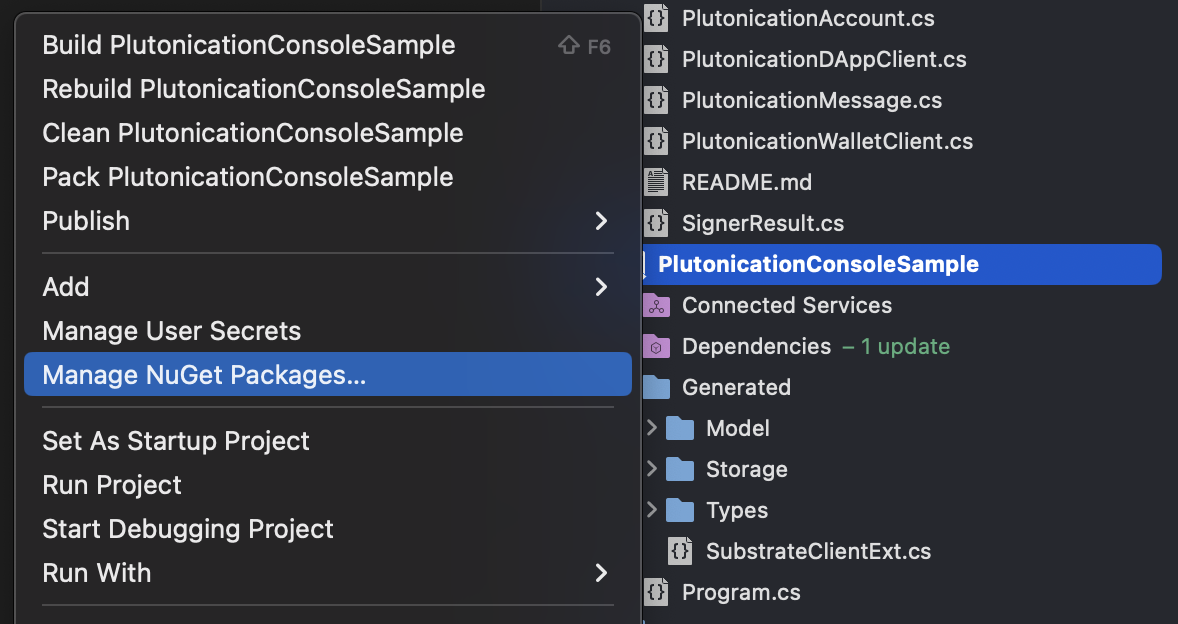
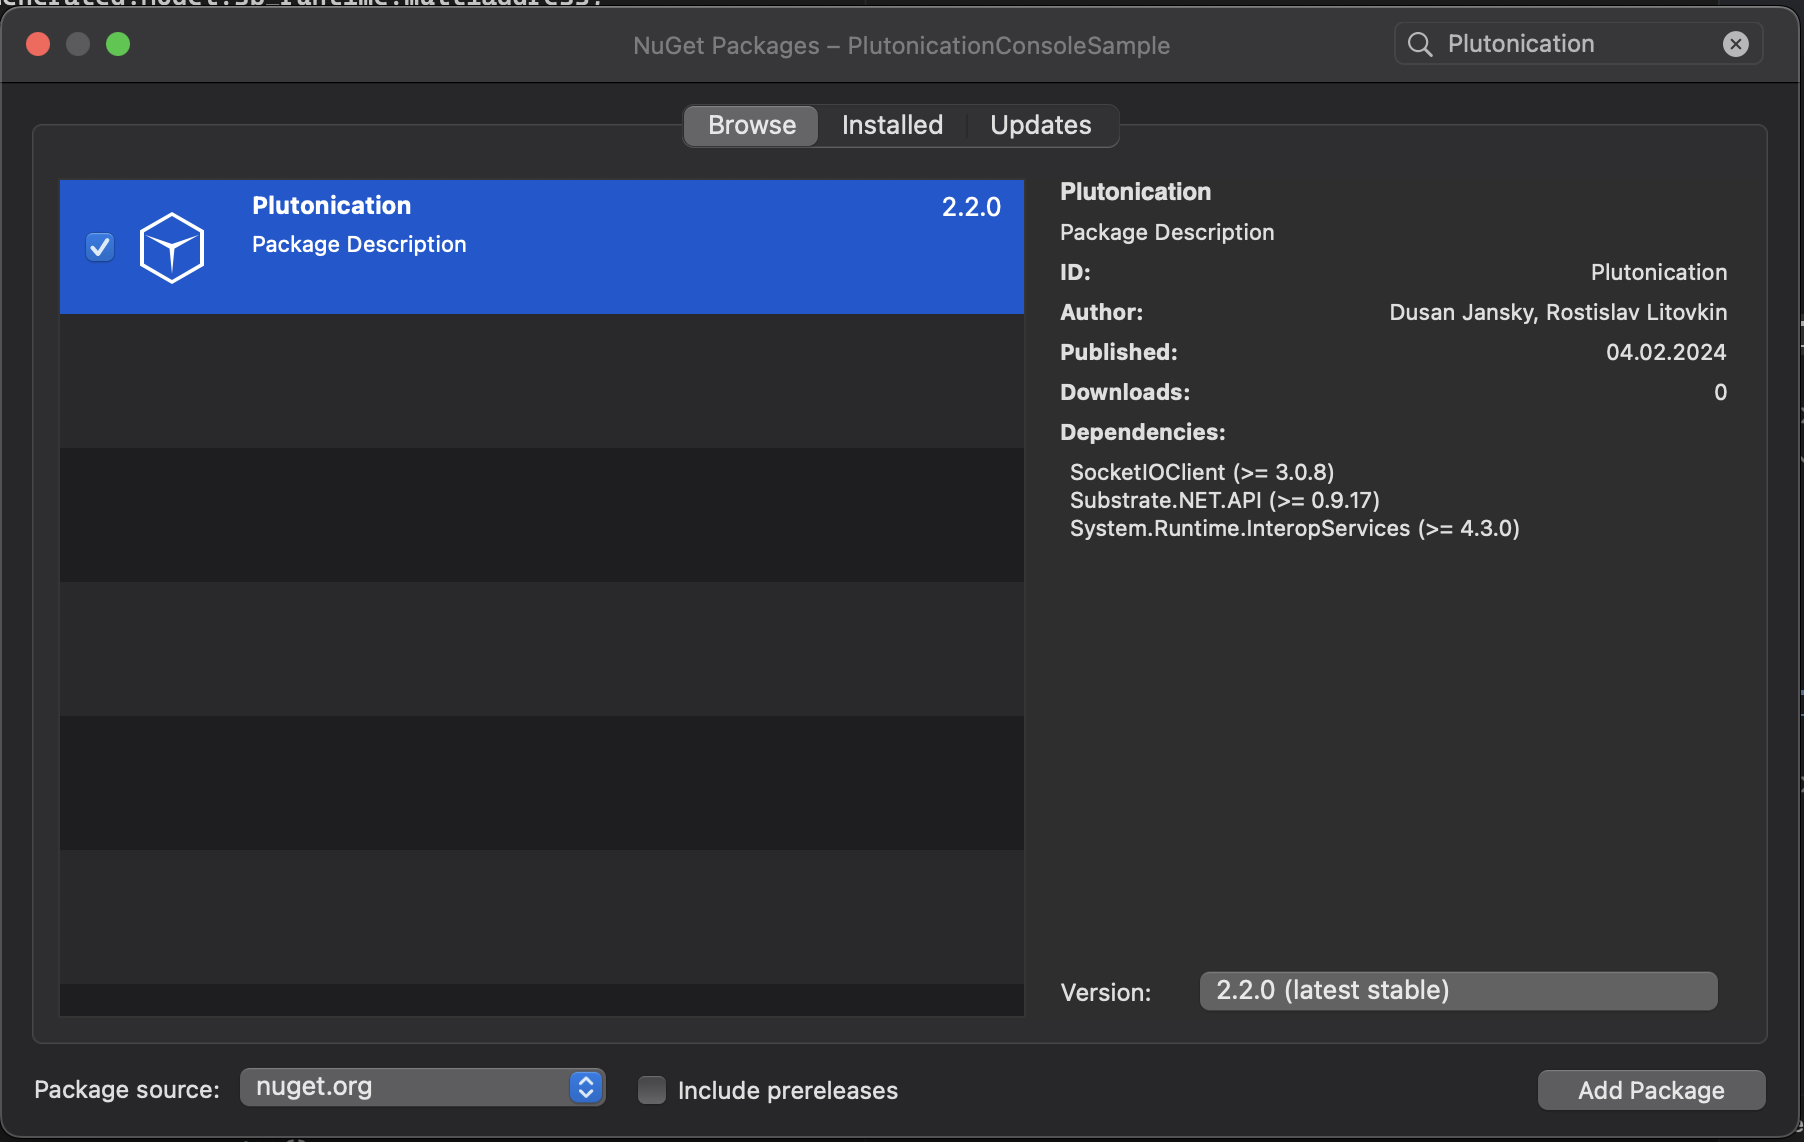
After the installation succeeds, do not forget to import it.
The following guide also uses Substrate.NetApi package. Other files were automatically generated by the Substrate.Net.Toolchain. You can follow this guide on how to generate your own substrate types for c#.
Access Credentials
AccessCredentials ac = new AccessCredentials
{
    // Name of your dApp
    Name = "CSharp Plutonication console test",

    // Icon of your dApp
    Icon = "https://rostislavlitovkin.pythonanywhere.com/plutowalleticonwhite",

    // Address of Plutonication server
    // Feel free to use this one
    Url = "wss://plutonication.com/",
};


// Show the AccessCredentials to the wallet
Console.WriteLine(ac.ToUri());
To use PlutonicationDAppClient, you need to provide the AccessCredentials with the necessary information.
But do not worry, it is this easy.
Feel free to use the wss://plutonication.com/ address.
You might also choose to deploy your own Plutonication server. The guide on how to deploy it can be
found here.
DApp name and dApp icon properties are shown in the wallet upon requesting connection.
Do not forget to somehow pass the access credentials to the wallet. PlutoWallet supports QR scanning, so one of your options is to put the access credentials uri inside the QR code. For example by using ZXing.Net.MAUI or other options.
Initialize Plutonication
// Get the Plutonication account
Account account = await PlutonicationDAppClient.InitializeAsync(
    // Include your access credentials
    ac,

    // Optinally add extra behaviour on when the wallet successfully connects
    (string receivedPubkey) => {
        Console.WriteLine("Received public key: " + receivedPubkey);
    }
);
Follow the comments.
InitializeAsync method finishes when the AccessCredentials
are passed to the wallet and the wallet connects successfully to the Plutonication server.
Do not get confused if your application gets stuck, this might be the reason.
Usage
var substrateClient = new SubstrateClient(
    // Randomly chosen chain.
    // I generated the SubstrateClientExt according to this guide:
    // https://github.com/SubstrateGaming/Substrate.NET.API/wiki/Docs#scaffolding-with-substratenettoolchain
    new Uri("wss://ws.test.azero.dev"),
    ChargeTransactionPayment.Default()
);

// Do not forget to connect the SubstrateClient
await substrateClient.ConnectAsync();

var destinationAccountId = new AccountId32();
destinationAccountId.Create(Utils.GetPublicKeyFrom("5GrwvaEF5zXb26Fz9rcQpDWS57CtERHpNehXCPcNoHGKutQY"));

var destinationMultiAddress = new EnumMultiAddress();
destinationMultiAddress.Create(0, destinationAccountId);

var amount = new BaseCom(1000000000000); // This is equivalent to 1 TZERO token (10^12 planks)

// Building the transfer Method
Method transfer = BalancesCalls.Transfer(destinationMultiAddress, amount);

// Make a Balances.Transfer call
await substrateClient.Author.SubmitExtrinsicAsync(
    transfer,
    account, // Request a signature from the Plutonication account
    ChargeTransactionPayment.Default(), // No tip
    64, // Lifetime. For details, refer to: https://polkadot.js.org/docs/api/FAQ/#how-long-do-transactions-live
    CancellationToken.None
);
The following code showcases how you can make Balances.Transfer call on Aleph Zero Testnet chain that is signed by the account that connected through Plutonication.
Everything is explained by the comments.
Wallet client
// any account
Account alice = getAlice();

await PlutonicationWalletClient.InitializeAsync(
    // Your Access Credentials
    ac,

    // Account public address
    alice.Value,

    // Payload signing logic
    async (unCheckedExtrinsic, runtime) => {
        //
        // You can use the unCheckedExtrinsic and runtime to showcase the
        // info about the transaction to the user before signing it.
        //

        // Get the Extrinsic Payload and sign it
        Substrate.NetApi.Model.Extrinsics.Payload payload = unCheckedExtrinsic.GetPayload(runtime);
        unCheckedExtrinsic.AddPayloadSignature(await alice.SignPayloadAsync(payload));

        var signerResult = new SignerResult
        {
            // Id of the signature
            id = 1,
            signature = Utils.Bytes2HexString(
                // This 1 means the signature is using Sr25519
                new byte[1] { 1 }
                // The signature
                .Concat(unCheckedExtrinsic.Signature).ToArray()
            ).ToLower(),
        };

        // Send the payload signature to the dApp.
        await PlutonicationWalletClient.SendPayloadSignatureAsync(signerResult);
    },

    // Raw message signing logic
    async (raw) => {
        //
        // You can use the raw to show the message to the user before signing it.
        //

        if (raw.type != "bytes")
        {
            // Unsupported
            return;
        }

        byte[] rawMessageBytes = Utils.HexToByteArray(raw.data);

        var signerResult = new SignerResult
        {
            // Id of the signature
            id = 1,
            signature = Utils.Bytes2HexString(
                await alice.SignAsync(rawMessageBytes)
            ).ToLower(),
        };

        await PlutonicationWalletClient.SendRawSignatureAsync(signerResult);
    }
);

// Disconnect
await PlutonicationWalletClient.DisconnectAsync();
If you are developing your own crypto wallet and you want to add Plutonication into your app, then you are at the right place.
By calling PlutonicationWalletClient.InitializeAsync with
correct arguments, you will initialize the wallet client in the background.
You do not have to do anything else.
Yes, It works like a magic!
PlutonicationWalletClient is a static class.